

A business fan page on Facebook is one of the most essential parts of a business’s online marketing strategy today and is something that cannot be treated as a secondary option. Any company looking to attract more customers needs to create a Facebook fan page without delay. However, due to the ever-changing settings of Facebook, creating a page for the first time can often get confusing. So, to help you out with this very important marketing strategy, here is a step-by-step guide telling you how to set up your own page:
Step #1: Select a Classification
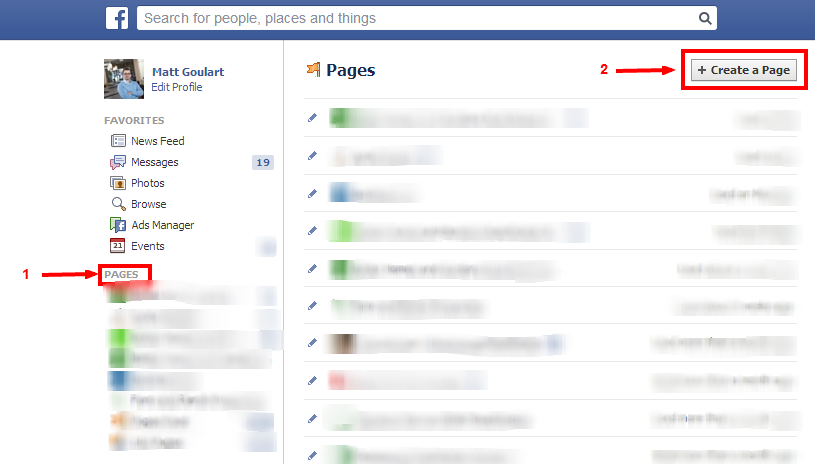
The very first thing you need to do is to decide what the classification of your business is. You can click on the “Create a Page” option available on both the homepage of Facebook (an image is below as a reference #1). You can also click this link and it will take you directly to the Create a Page section.
As soon as you click on this option, a selection of six different categories will be presented to you. These categories include (reference #2):
- Local business or place
- Entertainment
- Company, organization or institution
- Brand or product
- Artist, band or public figure
- Cause of community
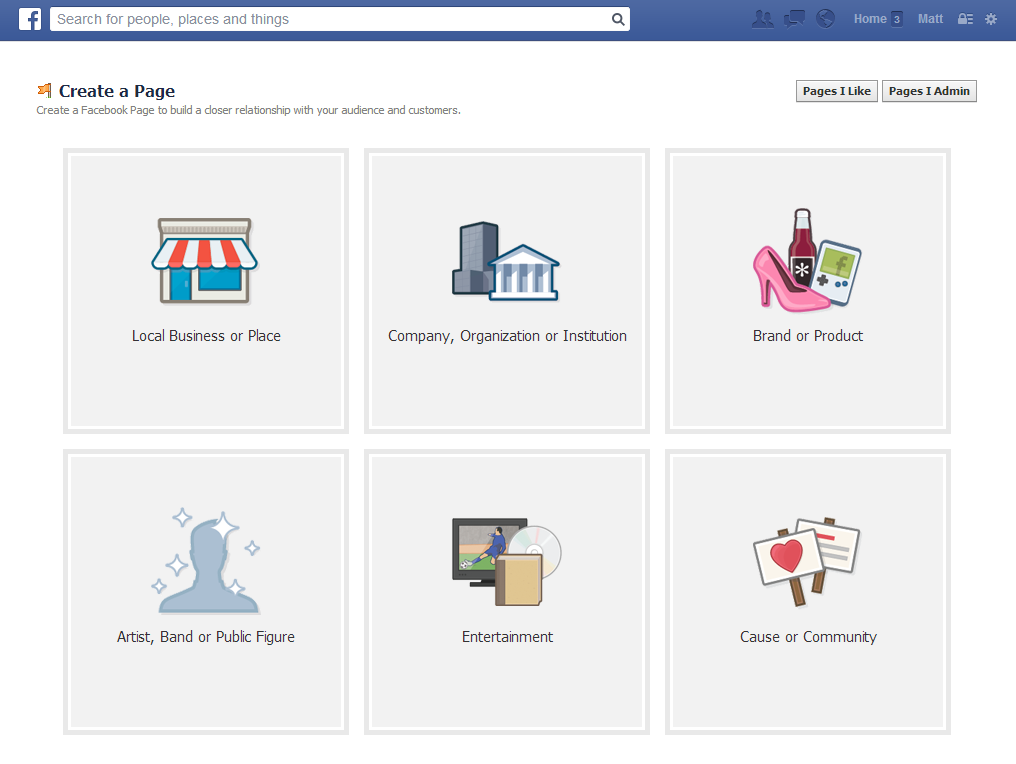
Select the classification that is most relevant to your page very carefully since your page will be ranked according to these classifications. Once your page is created, you cannot change the category.
Step #2: Add Brand/Company Information
Next, you will be required to select a category. We have used local Business or Place as an example here but the Company, Organization or Insitutation will be applicable to this also.
Now that you have selected the category,you will be required to enter the name of your business and other related information (Reference #3)

Step #3 Create Your Page
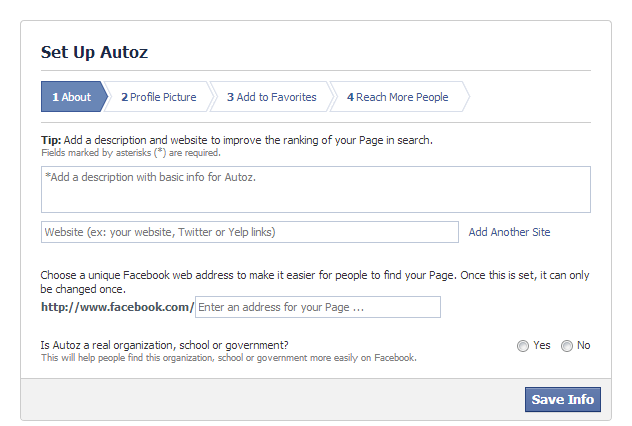
Start creating your page by adding the “About” information to your page next (reference #4), making sure that you clearly describe your business for your customers as precisely as possible. Insert your website address and select the URL you’d like to use. It’s important to note that your address for your page should be short (easy for consumers to type it in if they have to), also know that you are stuck with the name. Make sure you pick a good address (you can actually change it but only a handful of times).
We used ‘Autoz’ as an example, it’s not a real company.
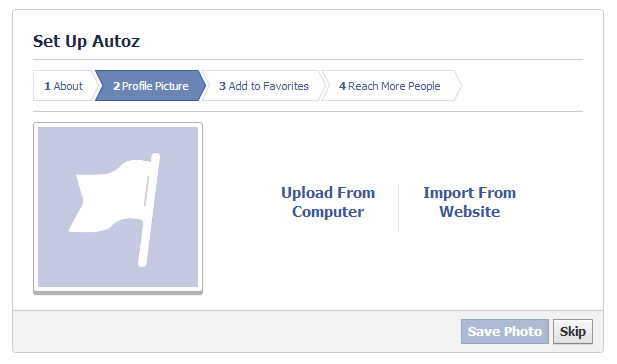
Step #4 Profile Image
Add a profile picture, you should ideally add a business logo or any other relevant picture. (reference #5)
After you ‘Save Photo’ step 3 in Facebook will be ‘Add to Favorites’. It’s recommended you do, it makes it easier for you to manage the account on a daily basis after. But it isn’t mandatory for you to add it to your favorites. Step 4 by Facebook will ask you to reach more people and they promote you to create a Facebook Ad. Potentially this could be beneficial for you, We advise though not doing this right away. Get your fan page up and running and then run some Facebook ads.
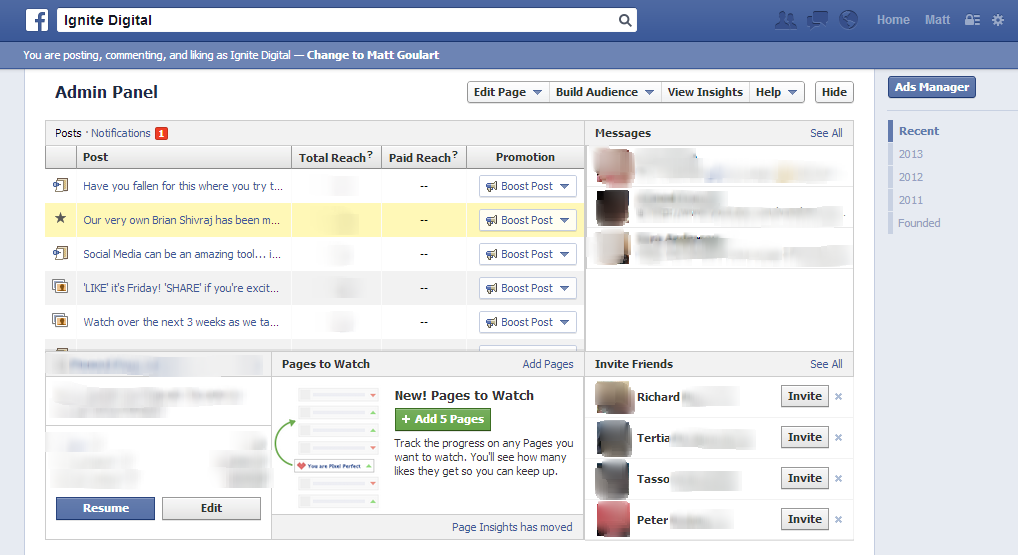
Step #5: Use the Admin Panel
You will be provided with an admin panel to manage the page (Reference #6). Using this panel, you can “Invite Friends” to like your page, and you can also import contacts from your email lists to the page. You can also edit any information on your page through this panel. A new feature Facebook launched last month allows you to “Page Watch”. You can watch up to 5 different Facebook Fan Pages. These could be competitors (monitor there growth or decline) or you can watch other fan pages for inspiration (maybe best practices?)
Step #6: Add Content to Your Page
You cannot draw audience to your page and keep them hooked until you have some unique, interesting and relevant content for them. So, once you have a page, start adding content to it, and it does not mean you should add useless things or spam to your page. The content should be interesting, timely and accurate.
Ideally, you should have some interesting content on your page before you start inviting people to like it on a major scale.
Step #7: Use Facebook Business Tools
Facebook offers a number of analytical and promotional tools that you can use. You can also contact us to help you with your Facebook Marketing.
Facebook Insights is another extremely useful analytical tool that informs you about the trending content on your page.
With that, your page will be up and running. Make sure to maintain it regularly, adding fresh content to it on a daily basis and inviting more and more people every day.