It’s time to get serious about tracking those conversions! If you’re a marketer and ready to take your analytics game up a notch, then you’ve come to the right place. In this blog post, we’ll be discussing how to set up conversions in Google Analytics 4 – the latest version of this all-important tool for digital marketers. How to set up conversions in Google Analytics 4 just got easy with this step-by-step guide.
We promise it won’t be as daunting as it sounds; just keep an open mind, have a good sense of humour and don’t sweat the small stuff! So let’s dive into GA4 Conversions Setup!
Summary
Experience the magic of tracking user engagement on your website with Google Analytics! No more dull page_view events – it’s time to level up and measure those specific, conversion-worthy pages.
Get ready to dive into a tutorial that will walk you through measuring user interactions with the confirmation page for http://www.brandname.com/page-submitted. Your website deserves the best, so let’s make it happen – together we will tackle ga4 setup conversions.
Create a Google Analytics 4 Conversion
Step 1: Create an event for your confirmation page
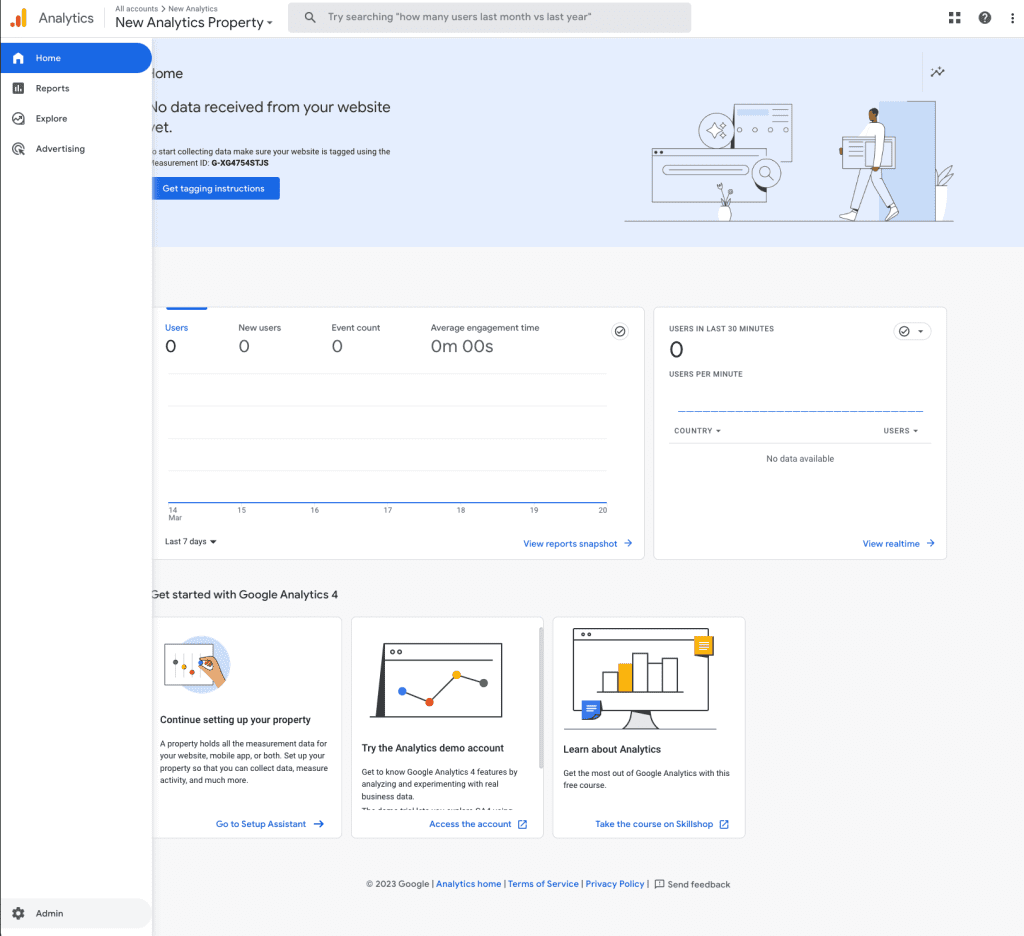
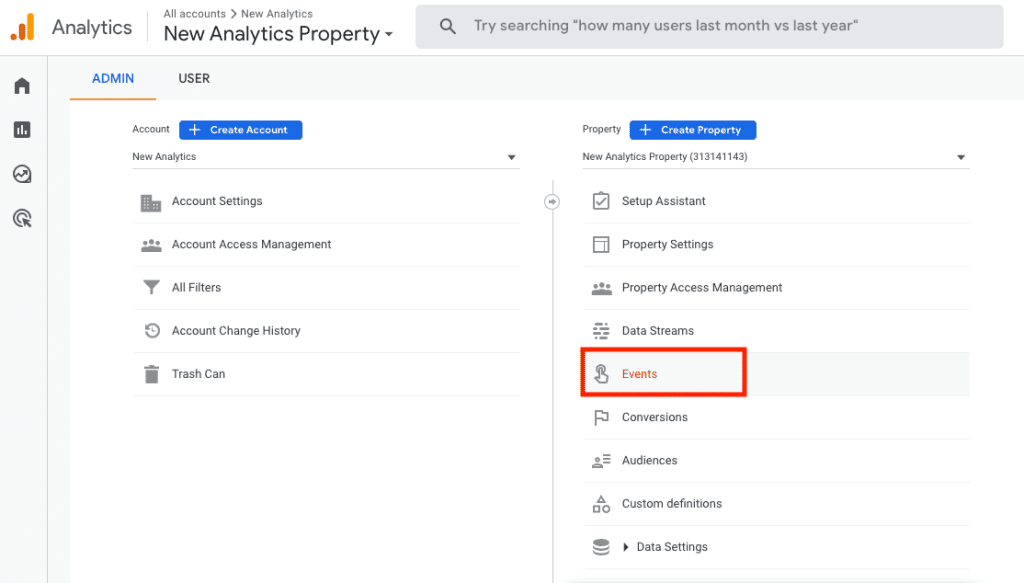
- Within Google Analytics, Click on “Admin” > “Events”

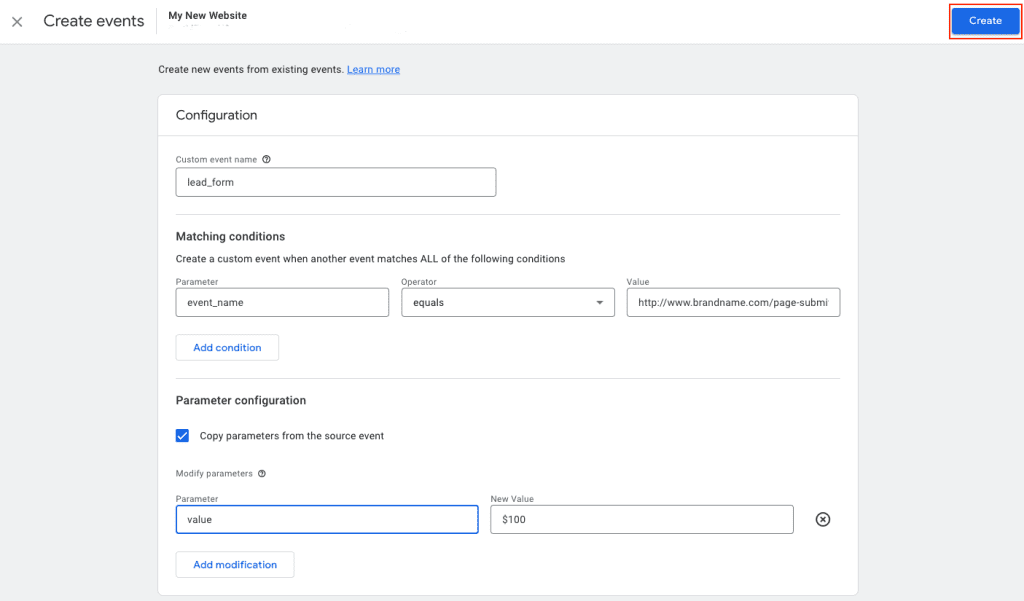
- Click on “Create event” and “Create”

- In the field that says “Custom Event Name” field, enter the name you want, for example “lead_form”

- “Matching Conditions” section:
- Under Parameter enter the first matching condition “event_name“
- Under Operator select in the drop-down “Equals“
- Under Value enter “page_view“
- Select now “Add Condition” button, this will allow us to add additional rules to match.
- Under Parameter enter the first matching condition “page_location“
- Under Operator select in the drop-down “Equals“
- Under Value enter “http://www.brandname.com/page-submitted”

- Under the “Parameter Configuration” section:
- Enter under parameter “value” and value “100” to define the value of the lead
- Enter under the second parameter row “currency” and value “USD” (or the current you would like to track)

- Click on the button “Create”

Step 2: Make Google know it’s a conversion
To stay ahead of the game, ensure a seamless analytics experience by proactively designating the awaited event as a conversion.
- Click on “Admin“> “Conversions”

- Click on New Conversion Events

- Enter the event name into the new event field “lead_form”


A round of applause is in order! You’ve seamlessly integrated goal tracking into your Google Analytics 4. Let the data-driven journey begin! 🏆🚀


