

Granting access to Google Search Console is crucial when adding vendors or service providers aiding in expanding your online presence. It’s worth noting that Search Console is the exclusive platform where Google communicates with you directly.
Discover how to grant and revoke access to your Google Search Console efficiently.
Permission Levels
Within the Search Console property, each user is assigned one of the following access rights:
- Owner: Individuals who hold ultimate authority in the Search Console can add or remove other users, manage settings, view extensive data, and use all tools available. For each property, at least one confirmed owner is essential to guarantee user access. Two categories of owners with identical access rights include:
- Verified Owner: Individuals confirming ownership of a property use a unique token, such as an uploaded HTML file, as proof. To designate or remove a verified owner, one must add or delete an authentication token on the site.
- Delegated Owner: Individuals granted ownership by a confirmed owner can exclude an authentication token. To assign or remove a delegated owner, any existing owner can do so through the Search Console user management display.
- Full User: Has access to view all data and can perform certain actions.
- Restricted User: Has basic viewing access to most of the data.
- Associate: Associates are individuals or accounts authorized to take specific actions on your site or access certain data. Unlike site owners and users, associates cannot directly open or view your Search Console account or data but have permission to perform other tasks.
Restrictions:
A property may enlist up to 100 users who aren’t owners in any capacity.
The number of delegated owners is capped at 500, inclusive of verified owners. This means if a property is already home to 200 verified and 300 delegated owners, the addition of new delegated owners ceases to be a possibility.
However, there is no upper limit to the number of verified owners a single property can have. Thus, even if a property has already 500 owners, you can still add more verified owners to it.
Keep in mind, that only a property owner or someone who owns a parent property holds the authority to change the user status.
Add Access for a User or Assigned Owner
- Access the Search Console and select your property
- Navigate to the Users and Permissions. Settings > Users and Permissions.
- Note: This page will only be shown if you hold ownership of the property.
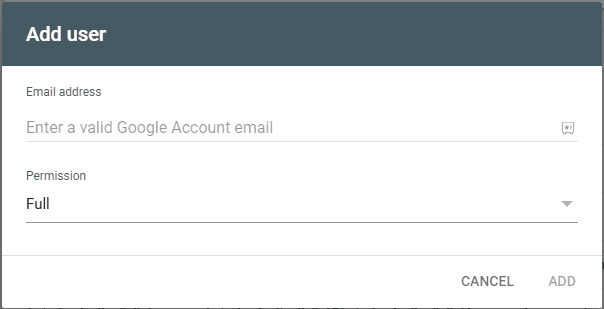
- Select the Add User button

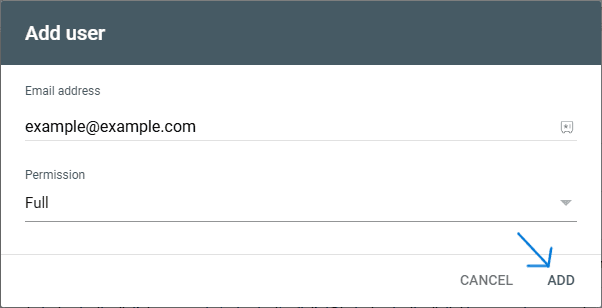
4. Insert the new user’s Google Account name (email)
-
- Users must have a legitimate Google Account
- Group emails are not permissible for user addition
5. Assign the user’s Permission Level (role)
6. Save Changes
Note: If you encounter an error message stating “This user may only be added as ‘Owner’,” while attempting to add a new user, this implies that the intended user already possesses ownership of a main property and, therefore, automatically holds owner rights for this property.
This user can only be admitted as an owner of this sub-property. Upgrading them to a full or restricted user would signify a downgrade in permissions on this sub-property, which is not permissible.
Remove Access from a User or Assigned Owner
Requirement:
- To change permissions for another user, you must have ownership rights
- You have the ability to modify permissions for any unverified owner
- Access the Search Console and select your property
- Navigate to the ‘Users and permissions‘ section found within property settings (Settings > Users and permissions).
- Please note that this page is accessible only to property owners.
- To remove a user, click on the More settings icon menu next to the name you want to remove

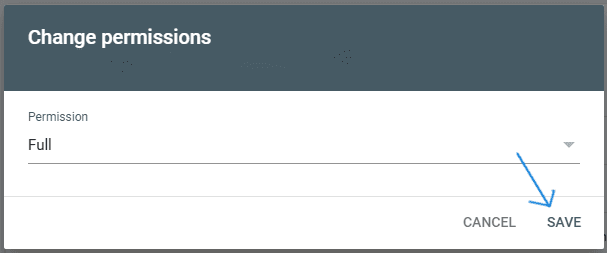
4. Choose Change permissions.
-
- If you can’t select this option, it indicates the user is a verified owner. While you can delete a verified owner, you cannot lower their access level.
5. Choose the new permission level and save your change. The change should take effect very quickly. If the changed user does not see the change, ask them to refresh their page in the browser.
An alert may pop up implying that the user may potentially regain access, which indicates that the user was a verified owner with one or more ownership tokens that may give them future access to this property.
To completely prevent future access, eliminate the tokens as specified in the alert. Find these tokens in the ‘Unused ownership tokens’ section in the Users and Permissions page.
Establish Your Ownership Credentials
To establish your ownership credentials, follow the steps below:
For Yourself:
- To access the Ownership page in property settings, navigate to Settings and select Ownership verification.
- Click on the Ownership Verification row in the property settings table. For details about the specific tokens used, refer to Search Console as outlined below.
For Other Users:
- To access the Users and permissions page in property settings, go to Settings > Users and permissions.
- Discover the user who catches your eye.
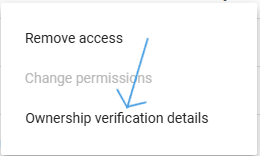
- To access additional settings for a specific user, simply click on the “More settings” icon located next to their profile.
- Click on “Ownership verification details” to view information about the tokens and methods employed for verifying this owner.
Disassociate a Confirmed Property Owner
Please note, that that if all confirmed property owners are eliminated, the remaining users and assigned owners will lose their access to the property following a certain grace period.
The property’s data collection will remain uninterrupted, however, there will be no access until a new ownership verification takes place.
- Refer to the guidelines given to erase an assigned owner.
- On completion of this, a popup showing all the user’s verification tokens for this property will be displayed. The same information can also be found by clicking on ‘Unused ownership tokens’ under the ‘Users and permissions’ page.
- The dismissed owner will lose access to the property instantly.
Ensure to erase all verification tokens for the user in this property. If not, the removed owner will have the option to re-establish their ownership (if this occurs, all existing owners will be alerted).
The list of tokens linked to the removed owner is displayed when you disassociate the owner in the previous step, you can also view this in the ‘Unused tokens’ list for the property. In case the owner used multiple verification methods, all tokens related to that individual should be removed.