
User Access and Authorization
To maintain access control for your containers effectively, it’s crucial to consider potential changes in team roles. If the sole administrator of your Tag Manager account transitions to a different role, there’s a risk of being locked out. Prepare a plan for managing account ownership during role changes, ensuring the presence of at least two active administrator accounts.
Google Tag Manager offers the flexibility to delegate access to other users at both the Account and Container levels. Users can be authorized to view or administer others at the Account level and granted various rights such as reading, editing, approving, or publishing at the Container level.
Access delegation is limited to Google accounts, including Gmail accounts, G Suite-managed accounts, or other accounts from accounts.google.com.
Add users to an account
To add users to a Tag Manager account:
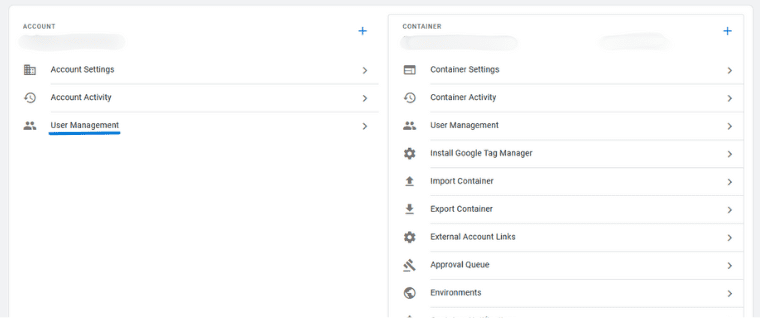
- Click Admin.
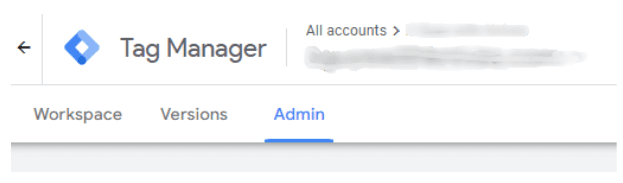
2. In the Account column, select User Management.
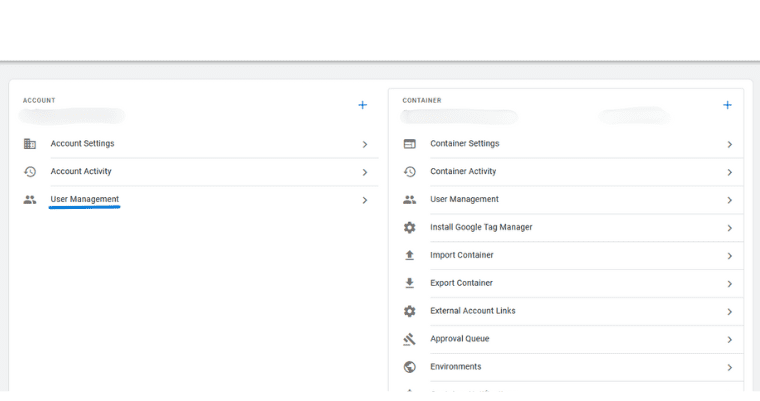
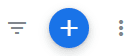
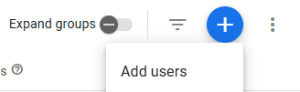
3. Click Plus symbol
4. Select Add new users.
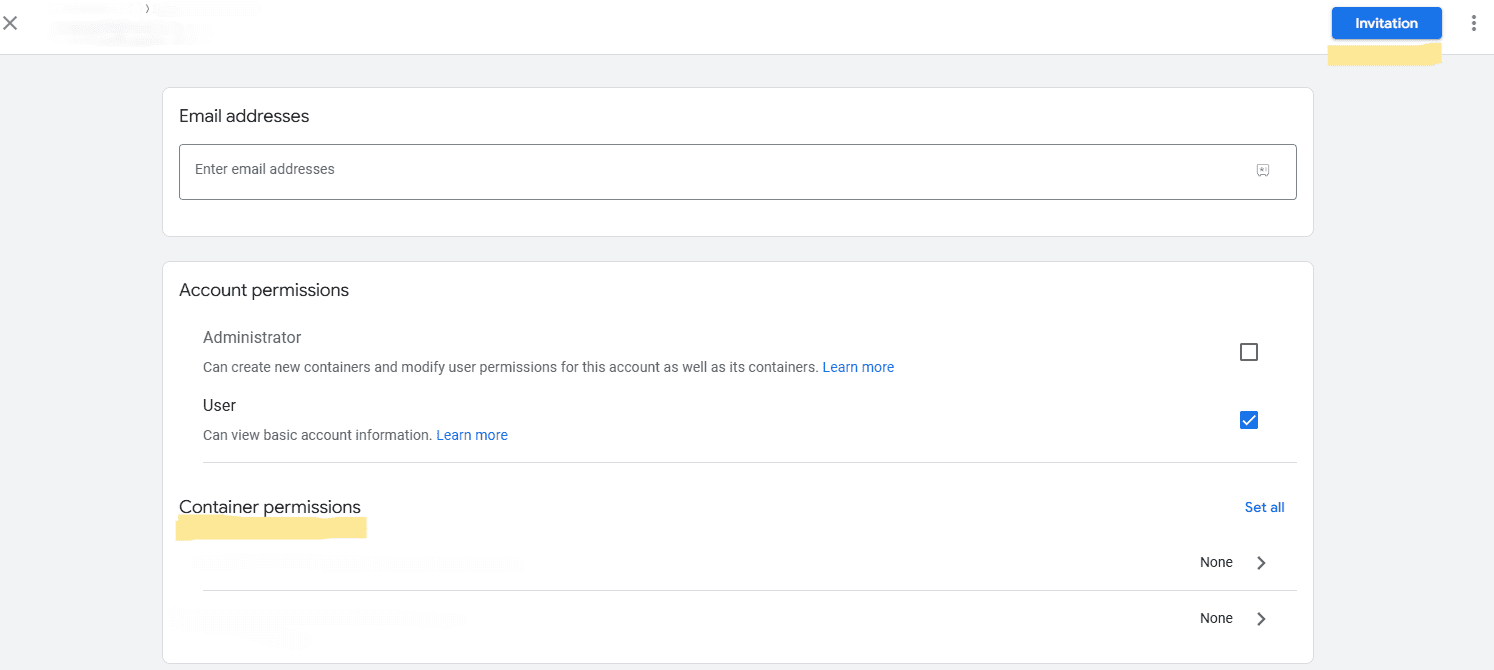
5. Enter one or more email addresses.
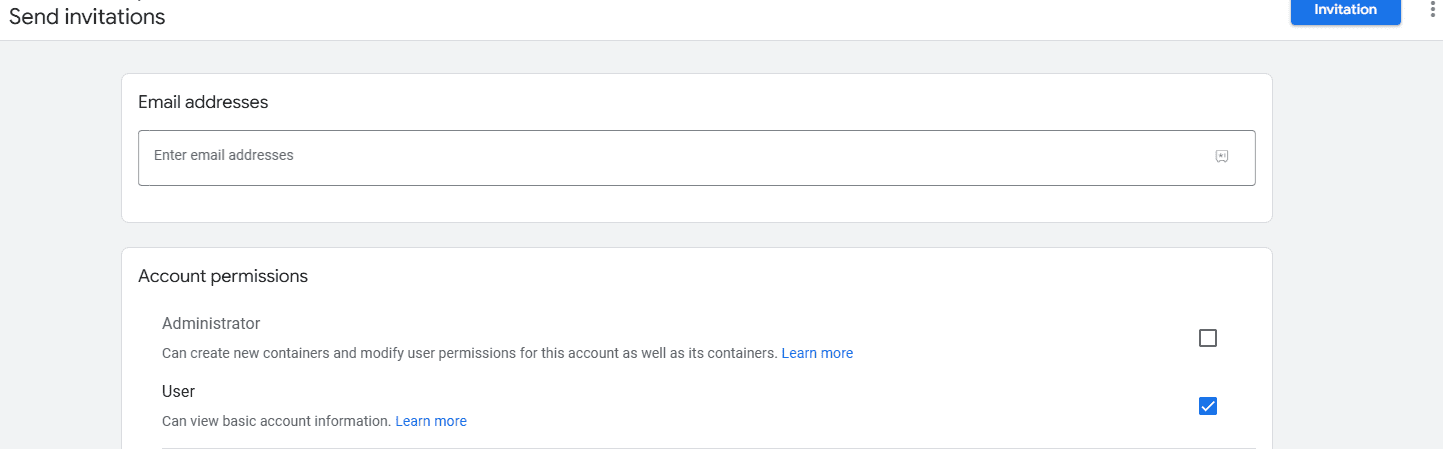
6. Set Account Permissions. The user is selected by default, and this level allows the user to view basic account information. Select Administrator if the user should have the ability to create new containers and modify user permissions for accounts and containers.
7. Optional: Set Container Permissions for each container that you would like the user to have access to.
8. Click Invite. Each invited user will receive an invitation to use the container.
Edit users on an account
To edit an existing user on a Tag Manager account:
- Click Admin.
- In the Account column, select User Management.
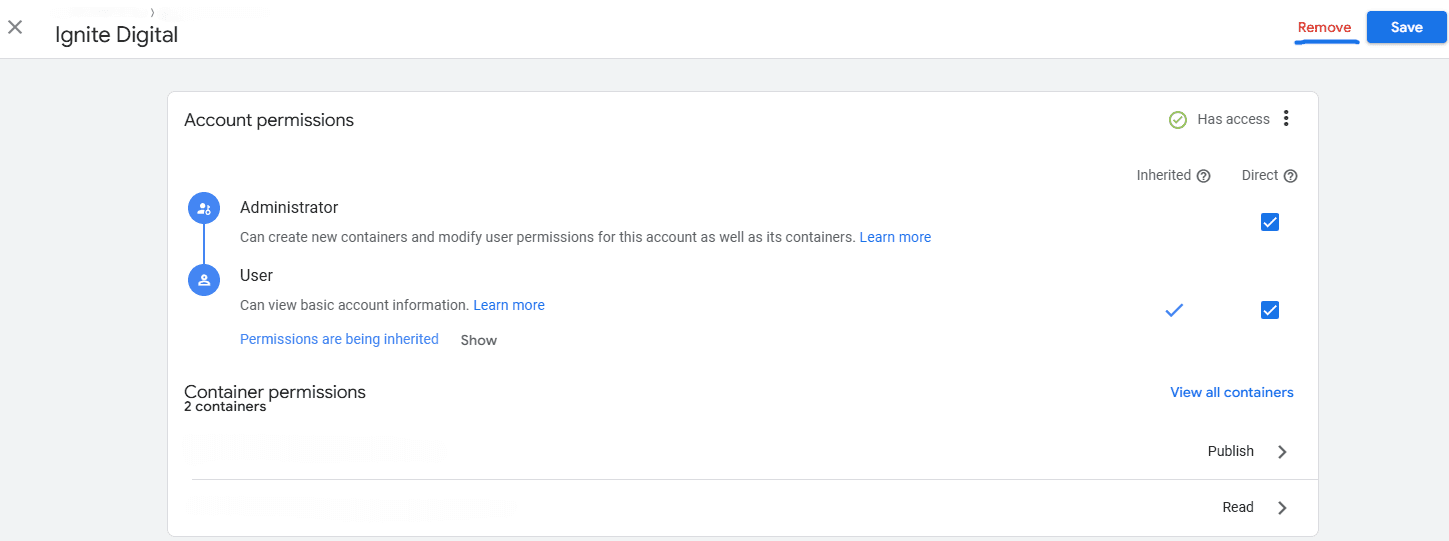
3. Select an entry in the Account permissions list. You can use the search and filter tools at the top of the page to narrow down results.

4. Modify account permissions as necessary.
5. To modify individual container permissions, click and select the desired options. Click Save to continue.

6. If you wish to remove this user from access to the current container, click Remove.
7. Click Save to save your changes.
Add users to a container
To add user permissions for a specific container:
- Click Admin.
- In the Container column, select User Management.

3. Click.
4. Select Add new users.
5. Enter one or more email addresses.
6. Assign Container Permissions.
7. Click Invite. Each invited user will receive an invitation to use the container.
Edit user access to a container
To edit user permissions for a specific container:
- Click Admin.
- In the Container column, select User Management.
3. Select an entry from the Container permissions list.

4. Change the user’s email address as necessary.
5. Modify container permissions as necessary.
6. If you wish to remove this user from access to the current container, click Remove.
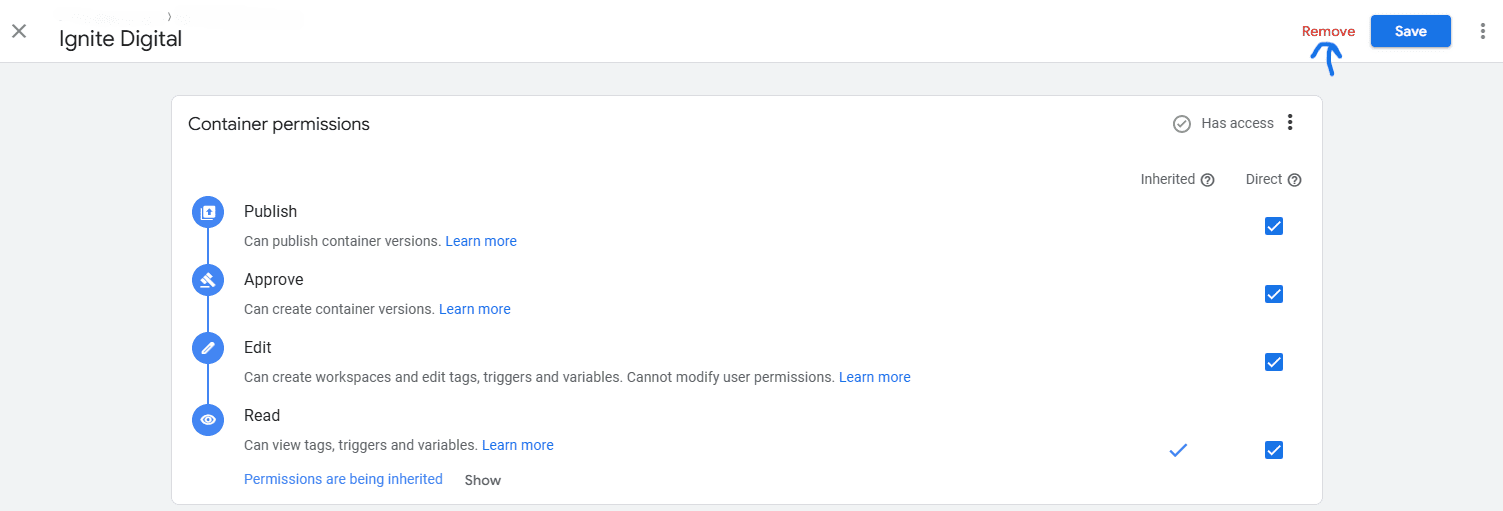
7. Click Save to save your changes.
Invitations
When a Tag Manager administrator adds a user to an account, the user will receive an invitation to access it. The user gets an email notification and can find an invite card on the Tag Manager’s Accounts screen. Click the invite card to view the list. For more details, expand an invitation entry. Accept by clicking “Accept” or decline by clicking “Reject.”
Account permissions
Account permissions within the account can be either Admin or User. You also have the option to adjust permissions for particular containers using the Container Permissions table.
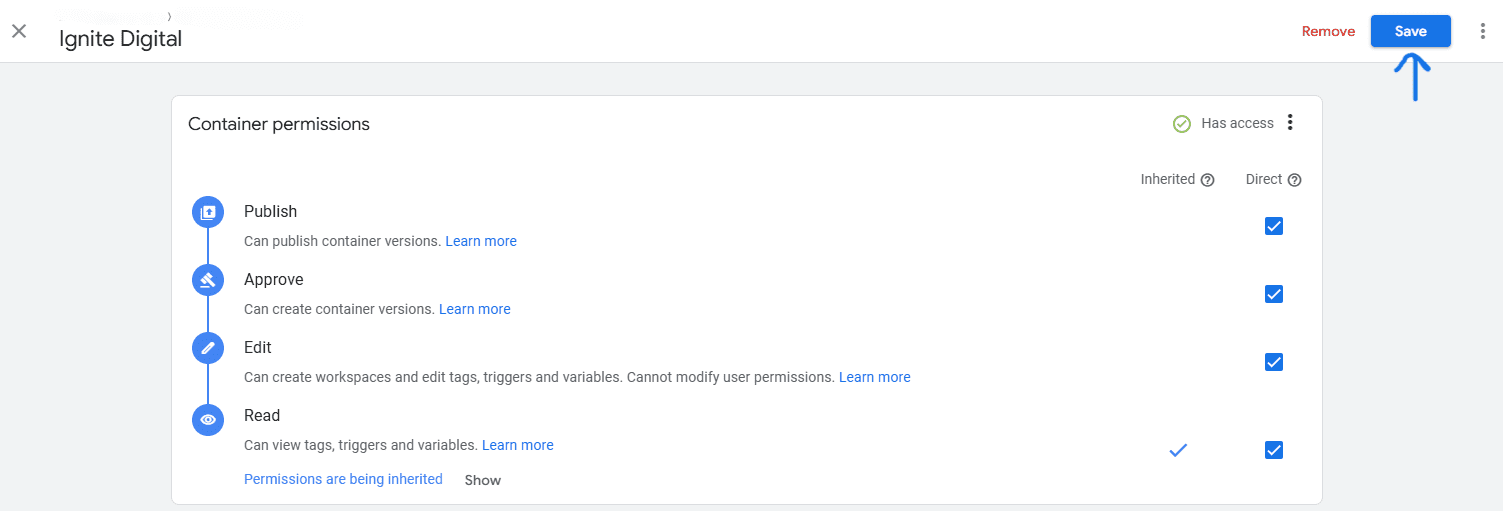
Container permissions
Access can be assigned per container. Within a specific container, a user may be assigned:
No Access: The container listed in the account will not be visible to the user.
Read: View the container to explore tags, triggers, and variables. Note that changes cannot be made by the user.
Edit: Users can create workspaces, make edits, but cannot create versions or publish.
Approve: Users can create versions and workspaces, make edits, but are unable to publish.
Publish: Users have complete permission to create versions, workspaces, edit, and publish.
IMPORTANT: When a permission level is obtained indirectly from another source such as a user group or organizational role, it is considered ‘inherited’. In contrast, permissions are ‘direct’ when explicitly assigned to the user. Even if the user loses an inherited permission, direct permissions will remain unchanged.
Recovering a Google Tag Manager account
Google Tag Manager is strict about upholding its policy against bypassing in-product permissions. In some cases, you might find yourself in a situation where nobody within your organization has access to Tag Manager because it’s not possible to request our support team to add users.
Tag Manager does not permit the removal of all admins – attempting to do so will cause an error. However, if a Tag Manager account has just one admin and that admin’s Google user account is deleted elsewhere, Tag Manager cannot prevent the account from being left without any admin control.
To avoid getting locked out:
Configure multiple administrators and actual user accounts instead of using shared logins, see instructions above.
- Make sure that your Google accounts are managed by someone within your organization, not an outside agency or consultant.
- If you use the Google Marketing Platform: Link your Tag Manager account to your organization to get improved user management capabilities, for example, Seeing which users have access, Setting user policies, and more.
If your account has no admin
When an account or container has no admin, it will be automatically deleted. Remaining users with read access have 30 days to export their information from the trash can. If nobody in the account has read access, you must start over and retag the site.
- Export the container from the trash can, see Exporting information from the trash can.
- Import the container into a new Google Tag Manager account where people in your organization have admin rights. See Import a container.
- Ensure that you assign enough people with admin status, as recommended above.